 |
|
|
|
|
Build your own tornado simulation chamber!
|
Beginner
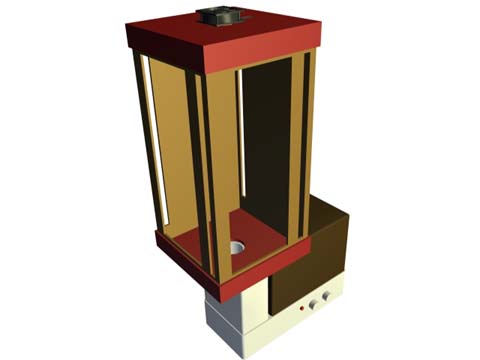
Build: This is a closed-box version with windows. It is very simple to build and requires very few materials. You just need some cardboard, tape, plastic wrap and a 12VDC computer case fan. Total cost: ~$15 A source of safe smoke, like an ultrasonic humidifier is recommended. |
 |
|
Advanced
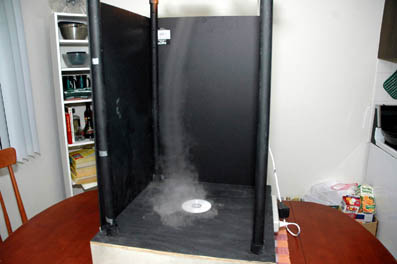
Build: This is an open-air version, with a vortex that you can interact with. Requires some 1" PVC pipe, PVC fittings, plywood, plastic dryer tube, a small computer case fan, and a larger squirrel-cage fan. Total cost: ~$75 A source of safe smoke, like an ultrasonic humidifier is recommended. |
 |
Follow me on:
![]()
![]()
![]()