 |
|
|
|
|
This simulator uses some everyday materials that are available either in the house, or in a nearby Radio Shack or hardware store:
www.tornadoproject.com/cellar/workshop.htm
Only modifications are the use of a small 12 VDC case fan available at Radio Shack and the use of an ultrasonic humidifier to make the vortex visible.
Top and bottom pieces have been added to allow the fan to be mounted and to provide a stable base to rest on the humidifier.
The humidifier's forced air duct has been partially blocked so that the mist comes out of the humidifier very slowly.
Another small improvement is the use of a plastic laminating sheet on the top & bottom pieces to prevent water damage to the cardboard.
Here's how to build it:
Get some flat corrugated cardboard of at least 1/4 inch thick. I've found great sources of this at value stores that sell bulk items. Grocery stores and liquor stores are also good sources of clean cardboard.
Mark and cut the cardboard into 4 pieces 12" by 24". Then cut windows in two of the pieces. These windows can be any size you wish, but try to avoid making them so large so as to make the structure too weak. Then cut long rectangular slots in each piece. These slots should be 3/4" wide and 3" from the top and bottom of the sides. The slots should be about 1" from the right side of the pieces. See the diagram below:
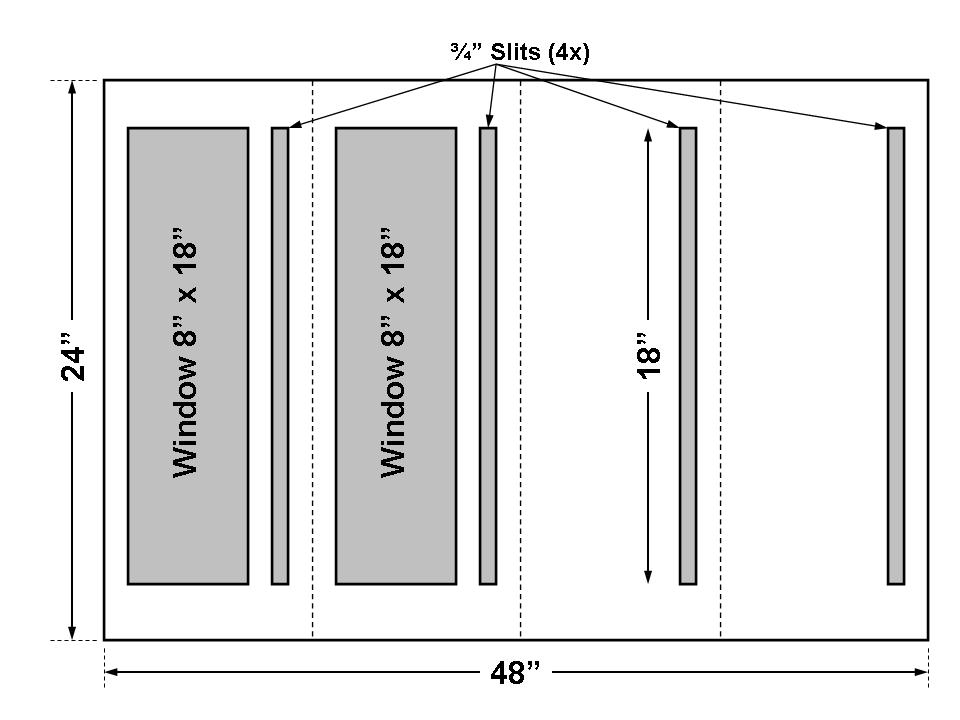
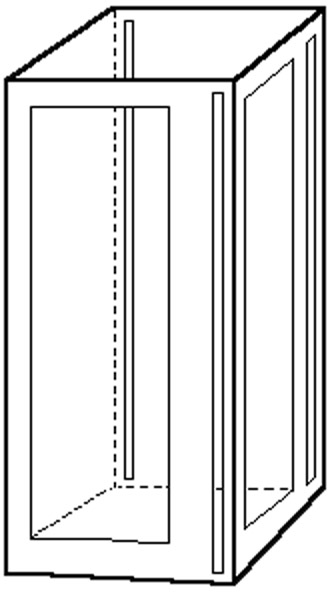
Now, cover the windows with a clear plastic sheet. Plastic food wrap works well for this. Tape the plastic wrap around the edges of the windows and pull it tight so it creates a nice window. Next, tape the four sides together so that they look like the diagram shown above. Fold the pieces so that they form a box and tape the last corner together. The finished result should look like this:
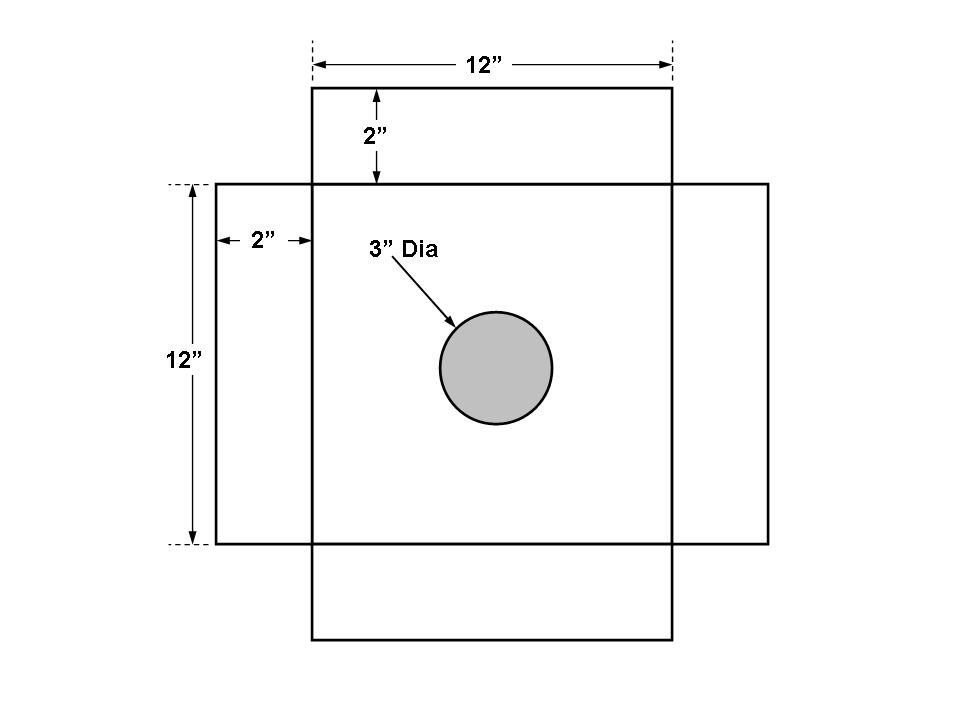
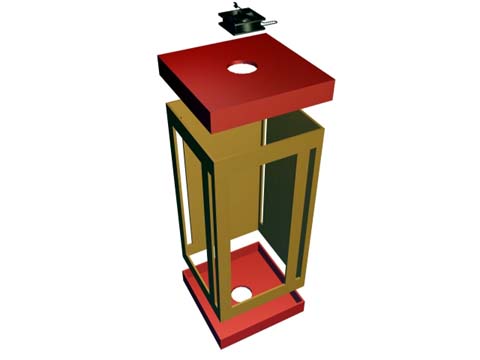
Now, here is where my design differs from that suggested by The Tornado Project. Take some more of the cardboard and cut two squares 12" on a side. Cut a 3" diameter hole in each one right in the center of the square. Now, cut 8 rectangles that are 2" by 12". Assemble and tape these parts together to look like the following picture. There should be two of these when finished.
Now, fold the edges in and tape the corners together to form a box. Each box should slip over the ends of the main chamber. OK, you have the basic chamber built..
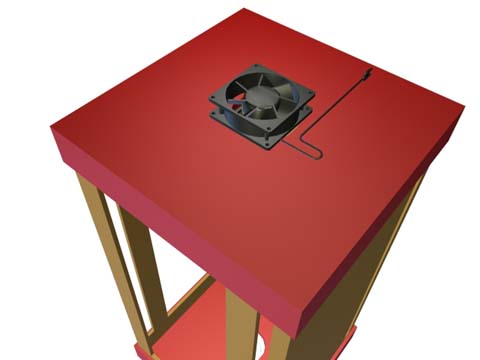
Now, to add the fan. This is a simple DC circulation fan available at Radio Shack for about $14. Attach the fan to one of the endpieces so that it is centered over the 3" hole. Make sure the fan is attached so that it blows air out of the chamber. You can attach the fan with bolts or with duct tape, or whatever works. The following picture shows the finished chamber and how it is assembled.
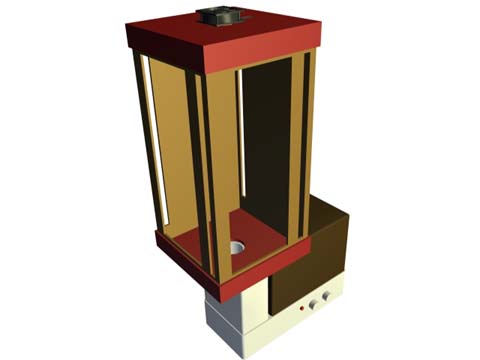
Well, you're obviously going to want to SEE the vortex, right? To do this, I use an ultrasonic humidifier. You might even have one of these devices already in your house. They're the humidifiers that quietly put out mist. If you don't have one, they run about $30 - $50 at almost any pharmacy. Yours will look different than the one I used, but it should still work fine.
One thing you might have to do is find some way to partially block the forced air duct on the humidifier. This is what causes the mist to shoot out of the nozzle. If you can, place some tape over the duct so that it is mostly blocked. The idea here is to get the mist to just "ooze" out of the nozzle, instead of shooting out.
OK. Now you're ready to try it out. Put the chamber on top of the humidifier's nozzle so that mist enters the chamber through the hole in the bottom. Turn on the fan so that it runs at a very low speed. A vortex should appear within a few seconds. You might have to play with the fan speed to get a good result. The finished chamber should look roughly like this, depending on what your humidifier looks like.
| Looking at the bottom | Looking at the top |
 |
 |
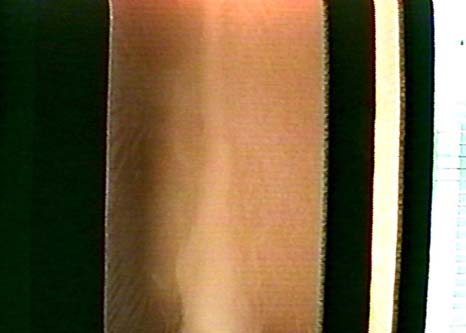
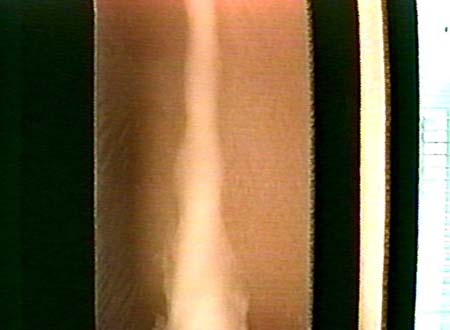
| Closeups of the bottom showing the initiation of the vortex. | ||
1). 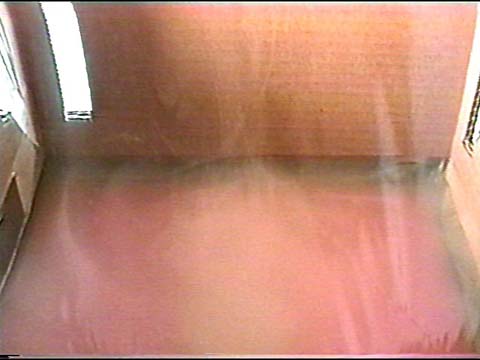 |
2). 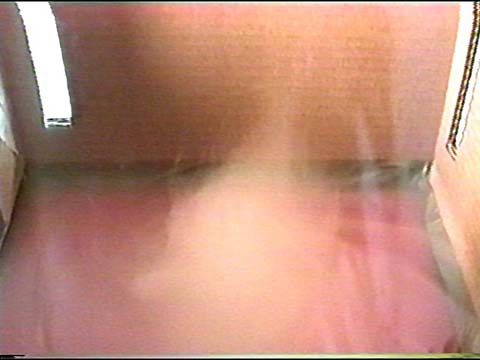 |
3). 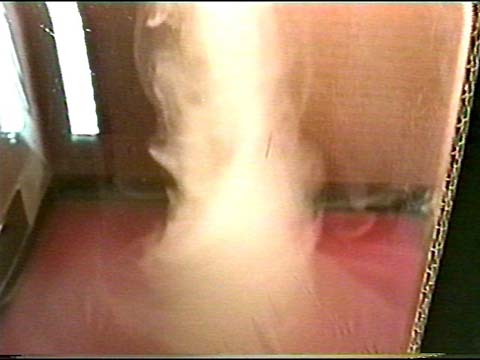 |
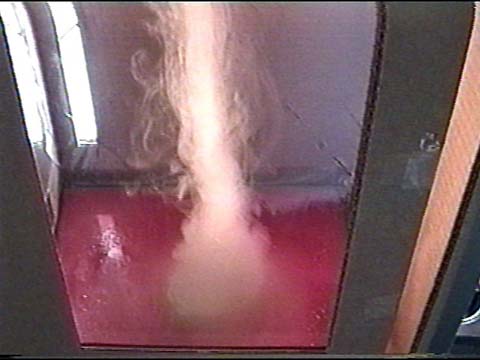
| Zoomed out shots of the entire vortex as it starts up | ||
1). 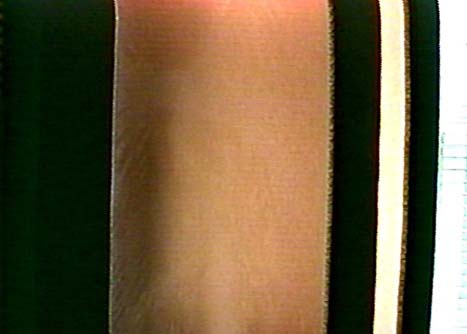 |
2).  |
3).  |
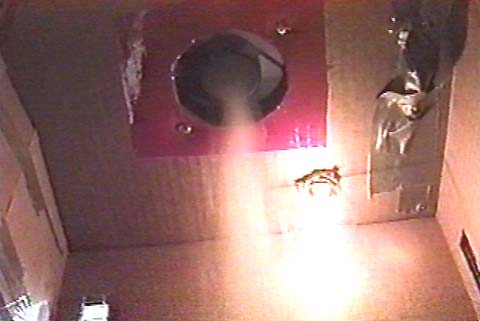
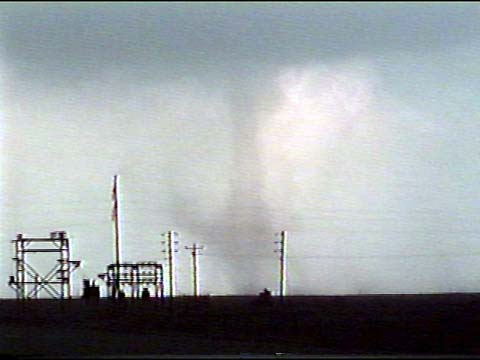
| Shots of a landspout (?) on May 24, 1998 going through similar stages. | ||
1). 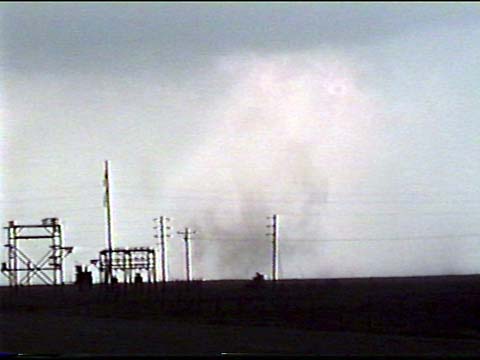 |
2). 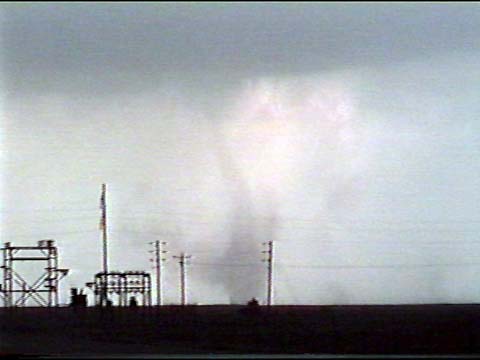 |
3).  |
I've got a number of questions and observations about this simulation chamber that I'm hoping someone can shed light on:
I've noticed an interesting similarity between this vortex and so-called "landspouts". I've been told that the images shown above I took on May 24, 1998 are of a landspout. This formed to the west of the main mesocyclone as the RFD cut into it. It looks as if it formed under the storm's flanking line. A real tornado formed about 15 minutes later under the mesocyclone. Notice that, in both the simulator and real life, the vortex starts from the bottom as a whirl and grows upward until it reaches the top.
Why does the vortex in the chamber seem to form "upside down"? (i.e., wide at the bottom & skinny at the top)
In the chamber, air is being sucked up from the top while directional shear is provided by the slots in the sides of the chamber. This forms the "landspout-ish" vortex. Can this simulator even form the more characteristic tornado look? (wide at the top and skinny at the base)
Do tornadoes need to have air going down inside them surrounded by upward-moving air to look like they do?
Follow me on:
![]()
![]()
![]()